To activate the Windows 10 operating system on the Science server, you must connect your PC or laptop to the Science network. The connection can be made on the local network in Science or remotely via VPN.
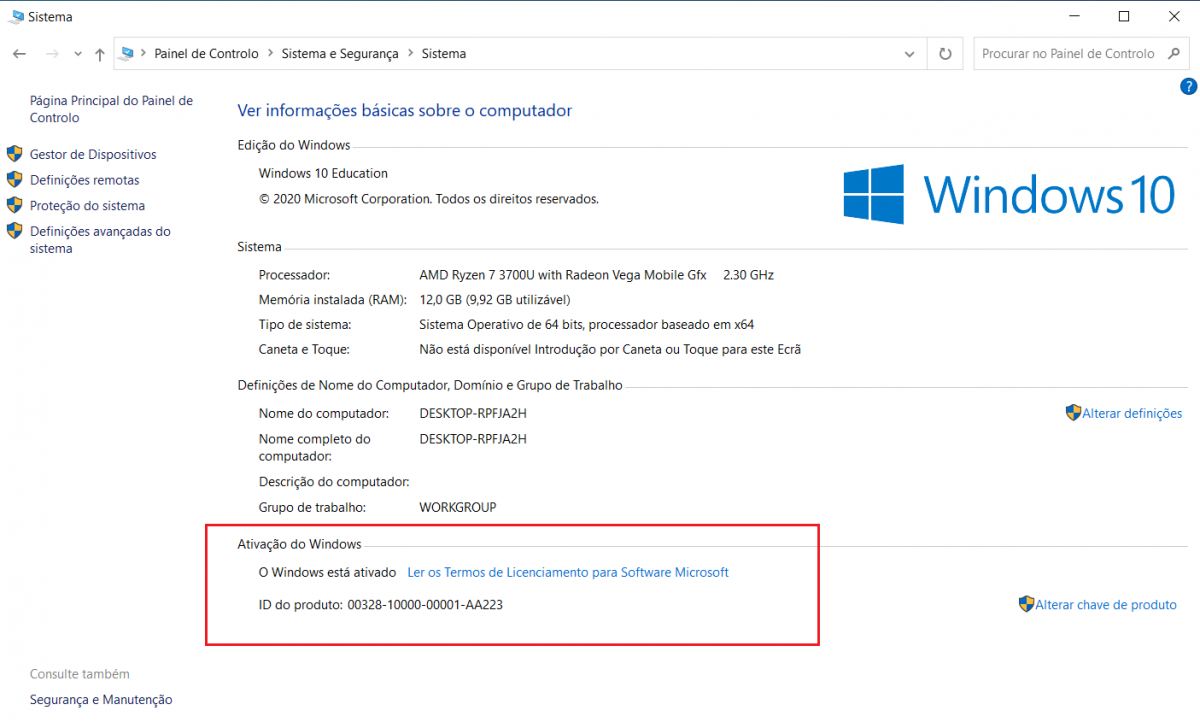
Windows 10 Activation
If you want to use VPN to activate Windows, you may need to make a small change to your VPN settings.
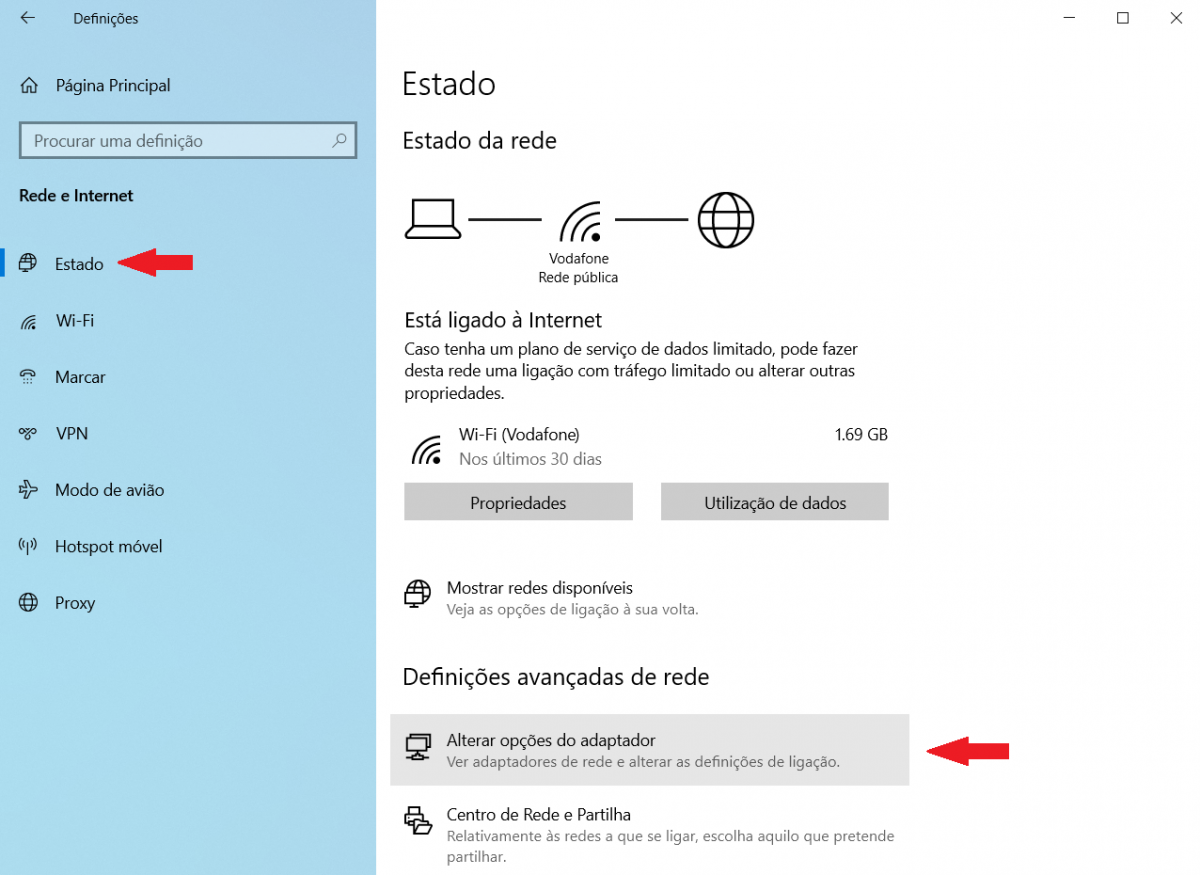
Right-click on the network icon in the System Tray (bottom right corner of the Windows desktop) and select ‘Open Network & Internet Settings’.

In the next window, access the ‘Status’ menu and click on ‘Change adapter options’.
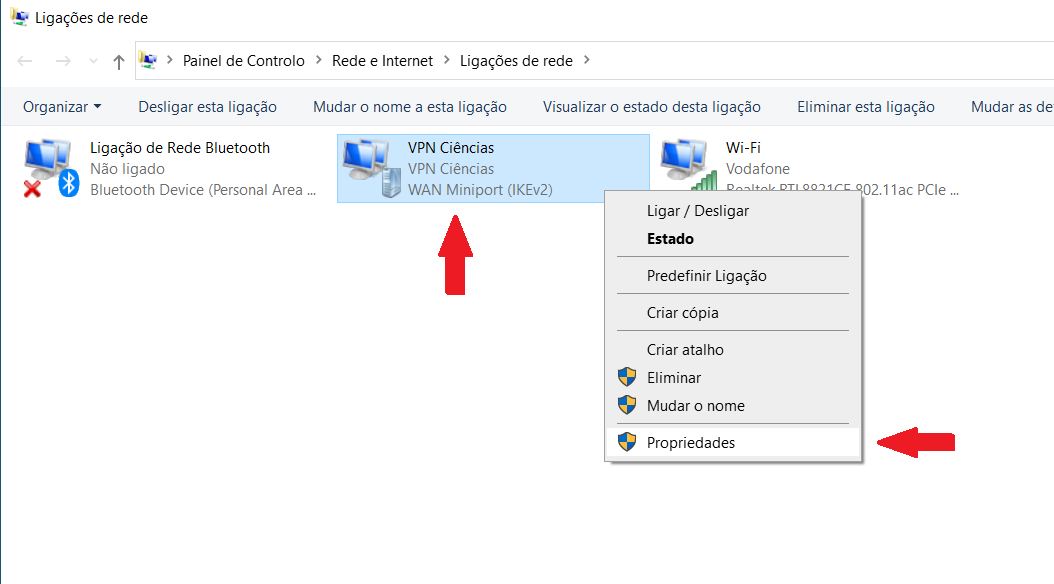
In the network connections window, select the network connection for the VPN, right-click to open the context menu, and select ‘Properties’.
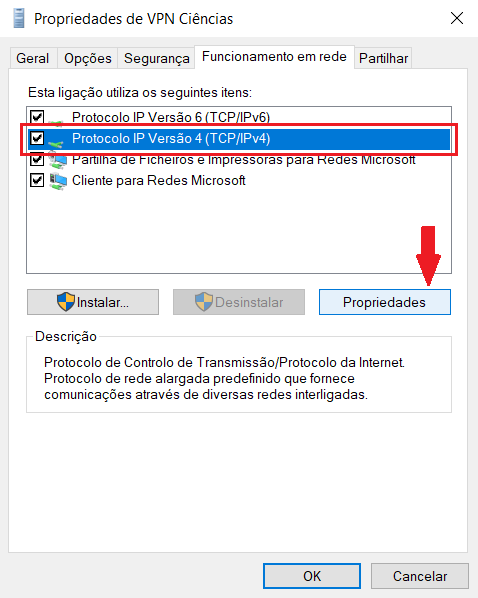
In the properties window, select ‘Internet Protocol Version 4 (TCP/IP)’ and click ‘Properties’.
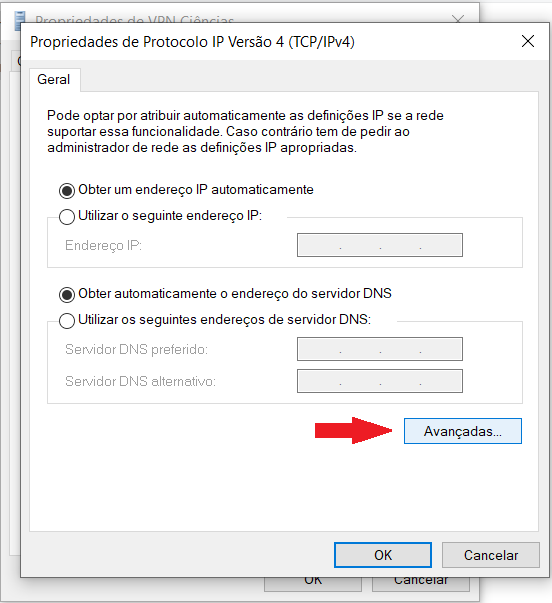
In the new properties window, click on ‘Advanced...’
In the advanced settings window, fill in the ‘DNS suffix for this connection’ field with the parameter: fc.ul.pt

Finally, click OK and close the remaining windows.
NOTES:
If you have VPN established when you make the changes described above, you will need to disconnect and reconnect the VPN for the changes to take effect.
After establishing the VPN, you will need to wait a few seconds or minutes for Windows to contact the server.
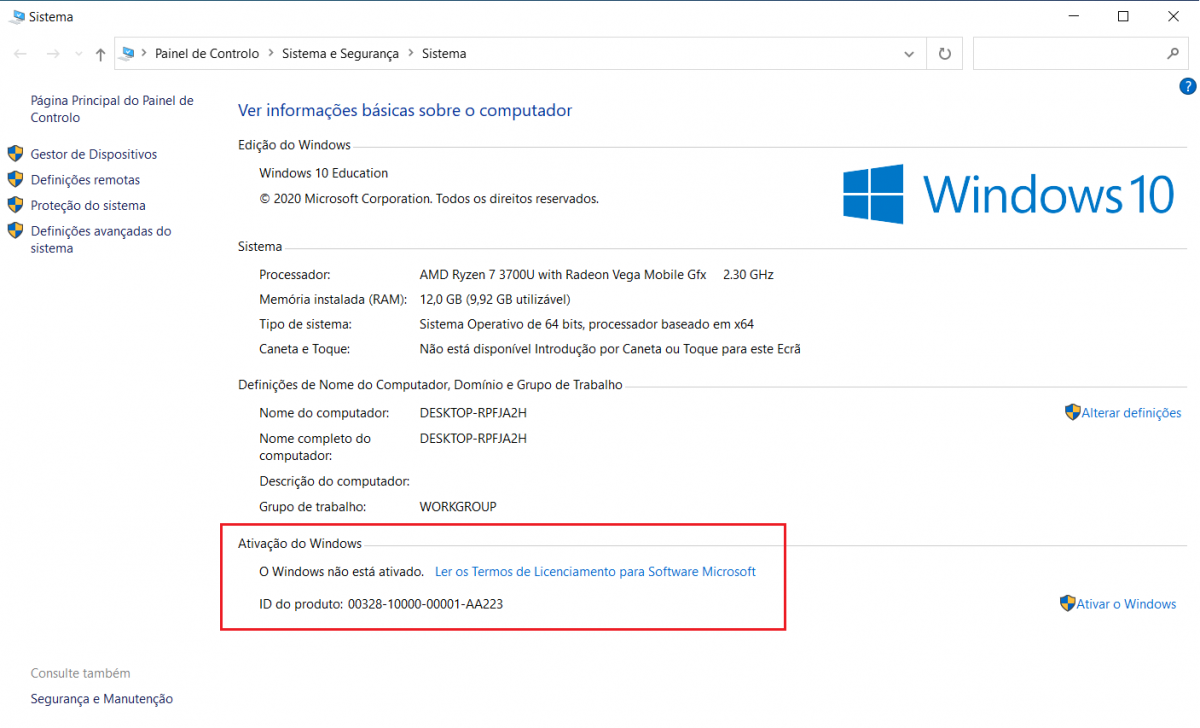
If after about 5 minutes Windows has not activated, check that everything is properly configured as described in this manual, and that the suffix fc.ul.pt is correct.
Finally, access the Windows activation window again to check the activation status. You can easily access the following window by right-clicking on the ‘This PC’ icon on the desktop and selecting ‘Properties’.